Raspberry PI OS: The Ultimate PI Media Project
I aimed to maintain the project’s affordability while ensuring that it remained within budgetary constraints. I made every effort to minimize expenses and avoid excessive costs without compromising on quality or functionality. By employing cost-effective strategies, exploring budget-friendly alternatives, and prioritizing efficient resource allocation, I strived to strike a balance between affordability and project requirements. The goal was to make prudent financial decisions and maximize value without stretching the budget beyond its limits.
")
Planning
Get your hardware ready and plan your setup.

Installation
- Setup and download Raspbian: Raspbian is a Debian-based operating system that is specifically designed for the Raspberry Pi. It is easy to install and provides a stable and reliable platform for running various applications and services on your Raspberry Pi.
- Raspberry PI Imager is software that allows you to write images of software to a SD card. The software is very easy to use and on Windows can be downloaded and installed from here.
- The software allows you to choose a range of operating systems so you try out as many as you want. Raspberry PI OS 64 bit (Raspbian) for the Pi5/Pi4/Pi3 which is a port of Debian is recommended if you want to proceed or follow along. Flash the SD card using the Pi Imager utility.
Remote Access
Once you have installed Raspbian, you can configure your Raspberry Pi for remote access, which allows you to control your Pi from another device, such as a laptop or smartphone.
Each method has its advantages, with SSH being lightweight for command-line access, VNC offering full desktop control, and Raspberry Pi Connect providing easy browser-based access.
Configure the PI for remote Access:
Install PI-Apps
Pi-Apps is a free and open-source application that provides an easy-to-use interface for installing and managing various software packages on your Raspberry Pi. With Pi-Apps, you can quickly install popular applications such as VLC media player, Chromium web browser, and LibreOffice productivity suite ect.
To install Pi-Apps you can find more instruction on their Github page here.
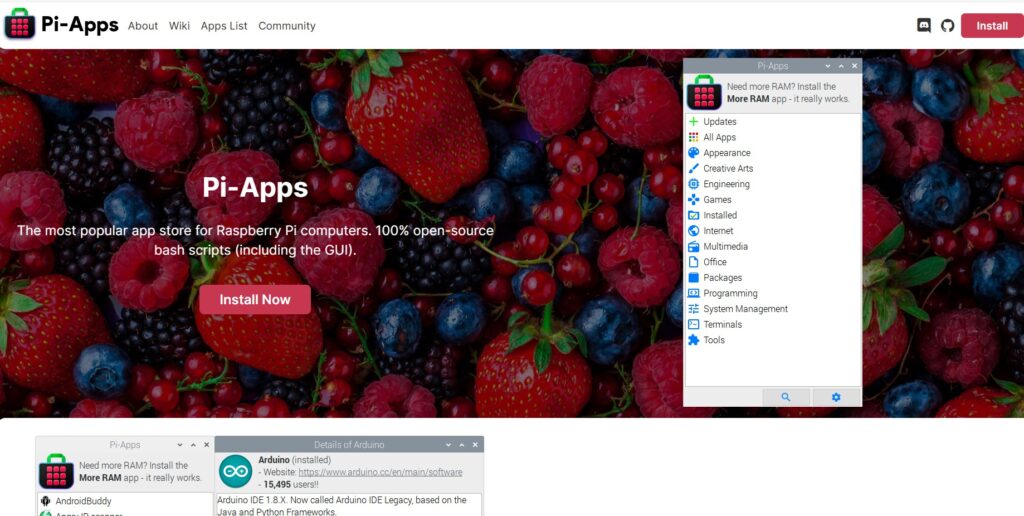
Install Pi-Apps
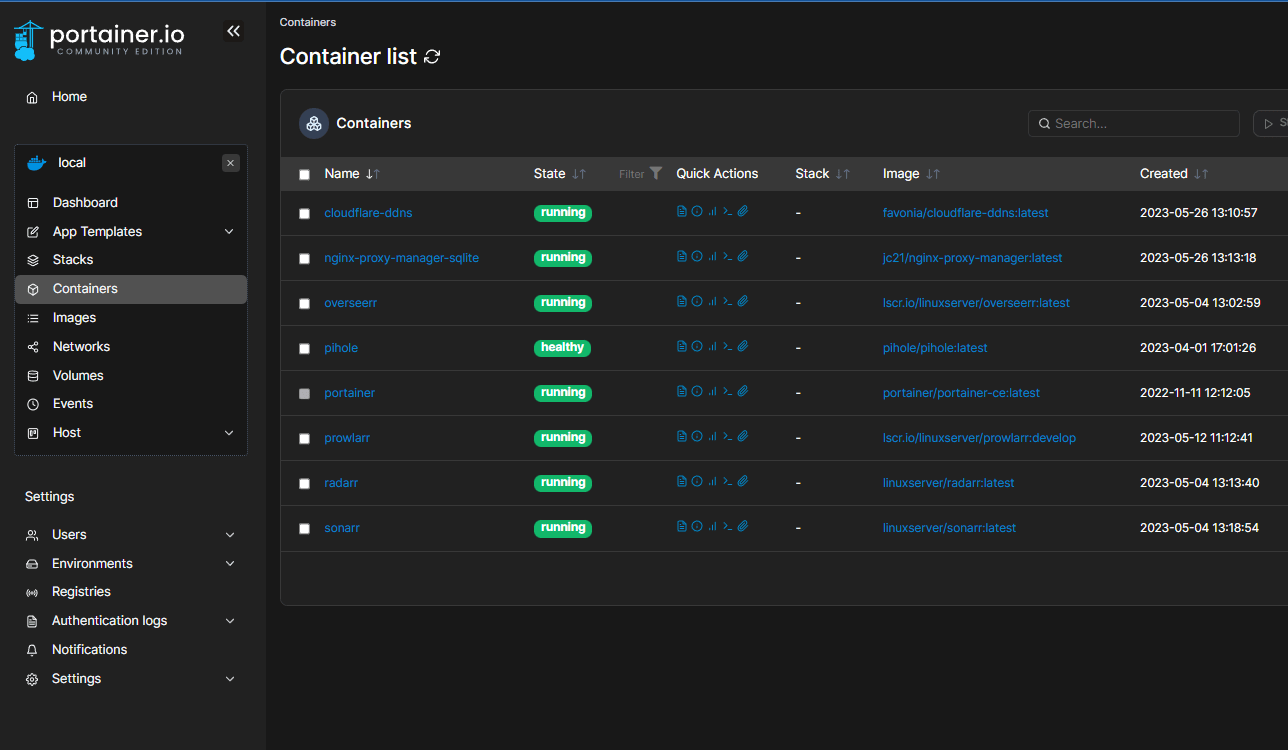
Docker and Portainer
Docker is a popular platform for deploying and managing containerized applications. By installing Docker on your Raspberry Pi, you can easily run and manage different applications and services in isolated containers, without worrying about conflicts or dependencies. Its ideal for the Raspberry Pi.

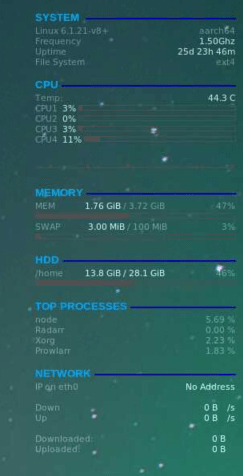
For older Pi’s with limited memory, a terminal only version of the operating system is recommended. On boot up your memory allocation is under 200MB. Which leaves head room for 2 or 3 light weight containers.
To install docker yourself you follow the instructions on the docker website or follow the instructions below
Install Docker and Portainer.
Pi-Hole
Imagine a world where ads, trackers, and unwanted pop-ups simply vanish from your entire network—welcome to Pi-hole! This powerful, lightweight network-wide ad blocker acts as a DNS sinkhole, intercepting and blocking ad-serving domains before they even reach your devices. Whether you’re browsing the web, streaming videos, or using apps on your phone, Pi-hole ensures a faster, cleaner, and more private internet experience. It runs seamlessly on low-power devices like a Raspberry Pi, protecting everything connected to your home network—no need for browser extensions or device-specific ad blockers. With an easy-to-use dashboard, real-time monitoring, and total control over your network traffic.
Its lightweight performance allows you to run Pi-hole in a Docker container, making it easy to deploy alongside other self-hosted services without hogging system resources. Whether you install it on a Raspberry Pi, a home server, or even a cloud instance, Pi-hole works efficiently in the background, filtering out ads and trackers at the DNS level. This means every device on your network—smartphones, laptops, smart TVs, and even IoT gadgets—benefits from an ad-free, faster, and more secure internet experience without the need for extra software or configurations!
Blocking list can be added and updated, and manual blocks can be added.

Installing PI-Hole Docker. Your local DNS caching and SPAM filter. To install you can read more here. Pi Hole
Connecting to NAS drives
Mount a shared Windows Drive: If you have a Windows computer on your network, you can mount a shared drive on your Raspberry Pi and access it like a local drive on the PI.

Connecting to NAS drives (Windows Shared Drives).
Install Different docker containers
Look at easy dockers that can be deployed: Once you have Docker installed on your Raspberry Pi, you can explore a variety of easy-to-deploy Docker containers that can be used for different purposes, such as
- web servers,
- databases,
- media servers,
- and more.
Some popular Docker containers include
- WordPress,
- Nextcloud,
- and Plex Media Server or Jellyfin.
By using Docker, you can easily experiment with different applications and services without having to worry about complex setup or configuration. There are multiple methods to set this up and there are are loads of tools that can assist you. My favourite tools to use is Portainer and CasaOS. Depending on your skill level and preferences, the easiest method for me to deploy all these docker apps was to use the App store of Portainer and CasaOS. That means no docker terminal commands… Simply click and deploy.
Honorable Mentions
Optional Installing CasaOS or adding these manually
- Installing Prowlarr Docker
- Installing Media Management Dockers , Radarr, Sonarr, Lidarr ect.
- Setting up Cloudflare DDNS for Jellyfin Remote management or Tailscale
- Setting up NginX Proxy Manager to Remote Access JellyFin
- Optional: Installing Oversearr or Jellyseerr.
- Optional – Installing Wireguard
- Optional – Readarr
Hosting Jellyfin or Plex on more capable hardware is recommended – No transcoding of video can be done on the PI.
Resources
The Pi with 4GB of RAM runs all these services without running into memory issues and is stable. Of the 32GB of my internal memory card I have 13GB free with Raspbian installed as the main operating system.