The Power of Pi: Building a Home Server with a Single-Board Computer
Single-board computers (SBCs) are compact, self-contained computing systems that integrate all essential components onto a single circuit board. These devices typically include a microprocessor, memory, input/output capabilities, and other features required for a functional compute.
Key Features and Advantages
- Compact Size: Their small form factor allows for easy integration into existing equipment and space-constrained applications
- Energy Efficiency: SBCs consume less power and generate less heat compared to conventional computers.
- Reliability: With fewer components that can fail, SBCs tend to be more reliable.
- Cost-Effectiveness: SBCs are generally less expensive than full-sized computers, making them accessible for various projects.
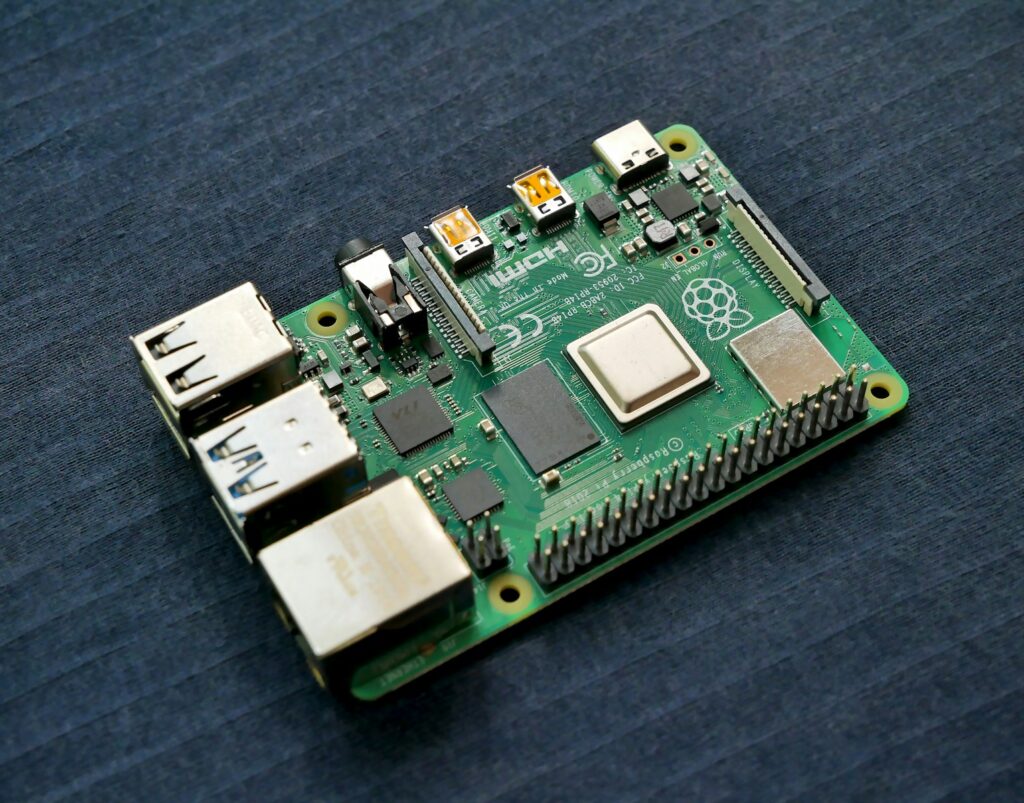
The Raspberry Pi and all its spin offs are powerful and versatile single-board computer that has gained immense popularity among hobbyists, educators, and professionals alike. With its impressive specifications and compact form factor, the Pi offers a wide range of possibilities for various applications. The Pi is available with different memory options, including 2GB, 4GB, and 8GB of LPDDR4 RAM, allowing for smooth multitasking and handling resource-intensive tasks. Its GPU performance has also been improved, enabling it to handle graphics-intensive applications and even 4K video playback. Additionally, the Pi offers a variety of connectivity options, including USB 3.0 ports, Gigabit Ethernet, dual-band Wi-Fi, Bluetooth 5.0, and micro HDMI ports, making it easy to connect peripherals and integrate with other devices.
Popular SBC Brands
Several brands have gained popularity in the SBC market:
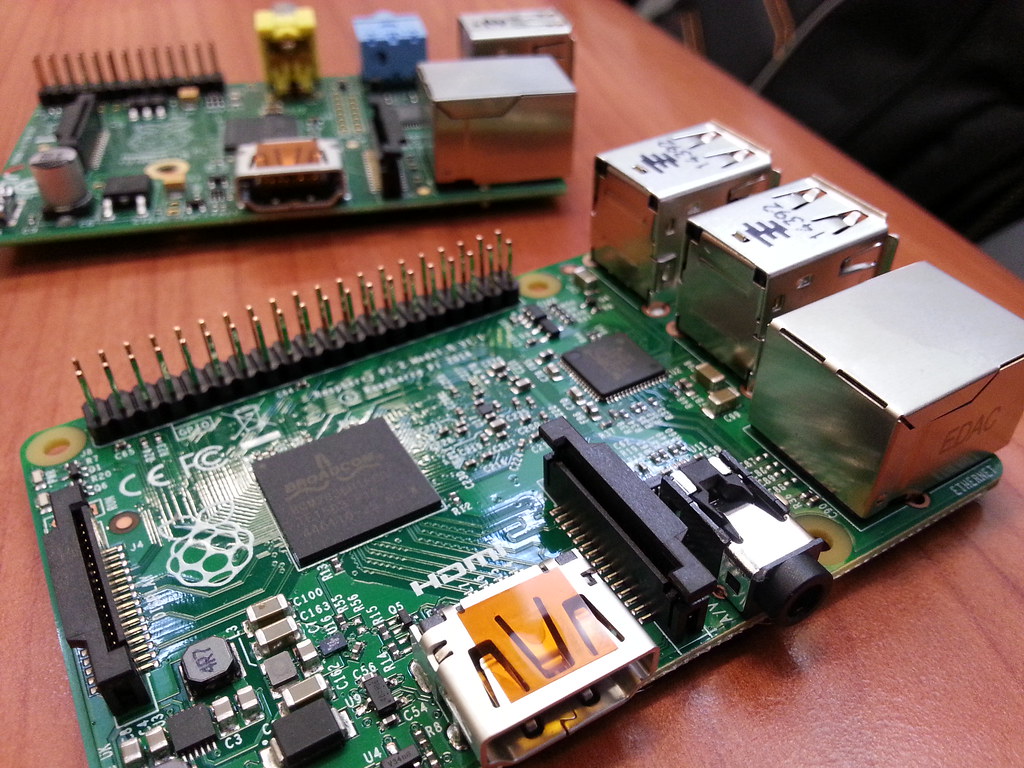
- Raspberry Pi: Known for its widespread adoption and extensive community support.
- Orange Pi: Offers a range of processors and is often slightly less expensive than some alternatives.
- Banana Pi: Typically uses Allwinner SoCs and may include features like SATA interfaces.
- Arduino: While primarily a microcontroller platform, it’s often used alongside SBCs in projects.
Applications
SBCs find use in diverse fields:
- Embedded Systems: Used in industrial controllers, automotive systems, and consumer electronics.
- Internet of Things (IoT): Ideal for creating connected devices and smart home applications.
- Education: Widely used in classrooms for teaching programming, robotics, and electronics.
- Prototyping: Enables rapid development and testing of new ideas and products.
- Home Servers: Can be used as media servers, network-attached storage, or for home automation.
Thanks to its impressive capabilities and affordable price point at some point, the Raspberry Pi has found applications in various fields. It is widely used for educational purposes, providing a cost-effective solution for teaching programming, electronics, and robotics to students of all ages. The Pi’s GPIO (General Purpose Input/Output) pins allow for easy interfacing with sensors, motors, and other electronic components, making it an excellent platform for hands-on learning and prototyping. Beyond education, the Pi serves as a versatile media center, capable of streaming and playing high-definition content. Its small size and low power consumption make it ideal for embedded projects and Internet of Things (IoT) applications, where it can be used to build smart home systems, automation solutions, or even networked devices. With its vibrant community and extensive support, the Raspberry Pi continues to inspire innovation and empower individuals to turn their ideas into reality.
Considerations for Home Server Use
When using an SBC as a small home server, consider the following:
- Processing Power: Ensure the chosen SBC has sufficient performance for your needs.
- Storage: Some SBCs, like certain Banana Pi models, offer SATA interfaces for expanded storage options.
- Networking: Look for models with Gigabit Ethernet for faster network performance.
- Power Supply: Ensure a stable and appropriate power supply for 24/7 operation
- Operating System: Choose a suitable OS for your server needs, such as a Linux distribution optimized for SBCs.
By leveraging the compact size, low power consumption, and versatility of SBCs, you can create an efficient and cost-effective home server solution tailored to your specific requirements.
Using your Raspberry Pi as a server is a great way to explore the world of computer networking and gain practical experience in configuring and managing server software. Depending on your needs, you can use your Raspberry Pi as a web server, file server, media server or perhaps even a small game server. With your Raspberry Pi server up and running, you can experiment with different configurations, applications, and services to learn more about how servers work and how they can be used in various contexts.
While the Raspberry Pi can be utilized as a NAS (Network Attached Storage) system, it’s important to consider its limitations when it comes to performance. The Raspberry Pi, with its modest processing power and limited network throughput, may struggle to deliver the same level of performance as dedicated NAS devices. If you’re seeking a high-performance solution for data-intensive tasks or heavy network usage, it’s worth exploring dedicated NAS options that are specifically designed to handle these demands efficiently. However, if your storage needs are relatively modest and you prioritize the Raspberry Pi’s affordability and flexibility, it can still serve as a capable NAS solution for personal or small-scale home network usage. It’s worth noting that if you are running multiple services on your pi, that it’s advisable to host media files on a separate server and use the Raspberry Pi to access the shared drives or NAS system, allowing the Pi to focus on its strengths rather than pushing it to exceed its limitations.
The Ultimate PI Media Project
I aimed to maintain the project’s affordability while ensuring that it remained within budgetary constraints. I made every effort to minimize expenses and avoid excessive costs without compromising on quality or functionality. By employing cost-effective strategies, exploring budget-friendly alternatives, and prioritizing efficient resource allocation, I strived to strike a balance between affordability and project requirements. The goal was to make prudent financial decisions and maximize value without stretching the budget beyond its limits.

Planning
Get your hardware ready and plan your setup.
Installation
- Setup and download Raspbian: Raspbian is a Debian-based operating system that is specifically designed for the Raspberry Pi. It is easy to install and provides a stable and reliable platform for running various applications and services on your Raspberry Pi.
- Raspberry PI Imager is software that allows you to write images of software to a SD card. The software is very easy to use and on Windows can be downloaded and installed from here.
- The software allows you to choose a range of operating systems so you try out as many as you want. Raspberry PI OS 64 bit for the Pi5/Pi4/Pi3 which is a port of Debian is recommended if you want to proceed or follow along. Flash the SD card using the Pi Imager utility.
Remote Access
Configure the PI for remote Access:
Once you have installed Raspbian or Alphine, you can configure your Raspberry Pi for remote access, which allows you to control your Pi from another device, such as a laptop or smartphone.
1. SSH (Secure Shell)
SSH provides command-line access to your Raspberry Pi:
1. Enable SSH on your Raspberry Pi:
- Open Raspberry Pi Configuration
- Go to the Interfaces tab
- Select “Enabled” next to SSH
2. Connect from another computer:
- Open a terminal
- Type: ssh <username>@<ipadress>
- Enter your password when prompted
2. VNC (Virtual Network Computing)
VNC allows you to access the Raspberry Pi’s graphical desktop:
1. Enable VNC on your Raspberry Pi:
- Open Raspberry Pi Configuration
- Go to the Interfaces tab
- Select “Enabled” next to VNC.
2. Install a VNC viewer on your computer
Connect using the Raspberry Pi’s IP address
3. Raspberry Pi Connect
Raspberry Pi Connect provides remote access through a web browser:
Ensure you’re running the 64-bit version of Raspberry Pi OS Bookworm
3. Use Raspberry Pi Connect
Access your Raspberry Pi through a web browser using the provided link: Raspberry Pi Connect Beta – Access your Raspberry Pi from anywhere – Raspberry Pi
Each method has its advantages, with SSH being lightweight for command-line access, VNC offering full desktop control, and Raspberry Pi Connect providing easy browser-based access.
Install PI-Apps
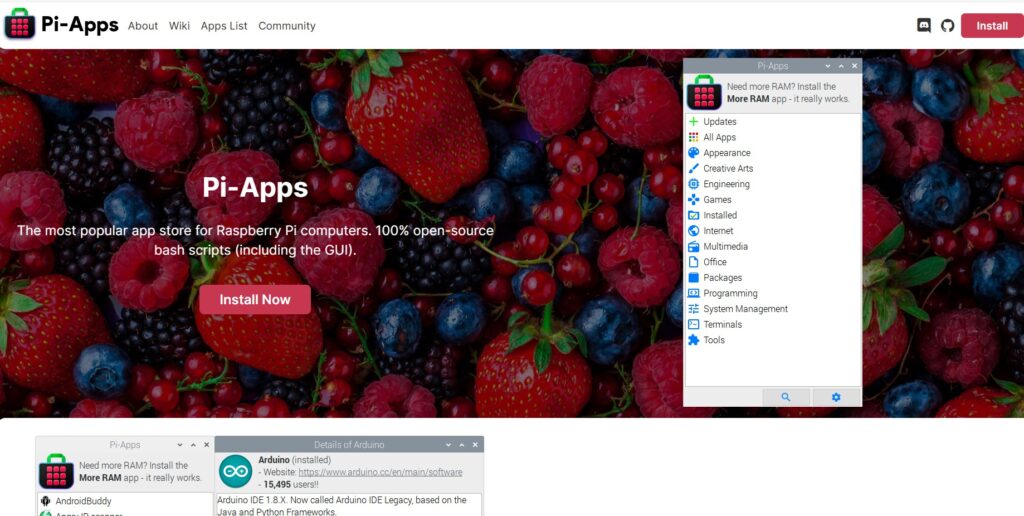
Install Pi-Apps: Pi-Apps is a free and open-source application that provides an easy-to-use interface for installing and managing various software packages on your Raspberry Pi. With Pi-Apps, you can quickly install popular applications such as VLC media player, Chromium web browser, and LibreOffice productivity suite ect. To install Pi-Apps you can find more instruction on their Github page here.
Docker and Portainer

Install Docker and Portainer. Docker is a popular platform for deploying and managing containerized applications. By installing Docker on your Raspberry Pi, you can easily run and manage different applications and services in isolated containers, without worrying about conflicts or dependencies. Its ideal for the raspberry pi2
Pi-Hole
Installing PI-Hole Docker. Your local DNS caching and SPAM filter. To install you can read more here.

Connecting to NAS drives
Connecting to NAS drives (Windows Shared Drives). Mount a shared Windows Drive: If you have a Windows computer on your network, you can mount a shared drive on your Raspberry Pi and access it like a local drive on the PI.

Install Different docker containers
Look at easy dockers that can be deployed: Once you have Docker installed on your Raspberry Pi, you can explore a variety of easy-to-deploy Docker containers that can be used for different purposes, such as
- web servers,
- databases,
- media servers,
- and more.
Some popular Docker containers include
- WordPress,
- Nextcloud,
- and Plex Media Server or Jellyfin.
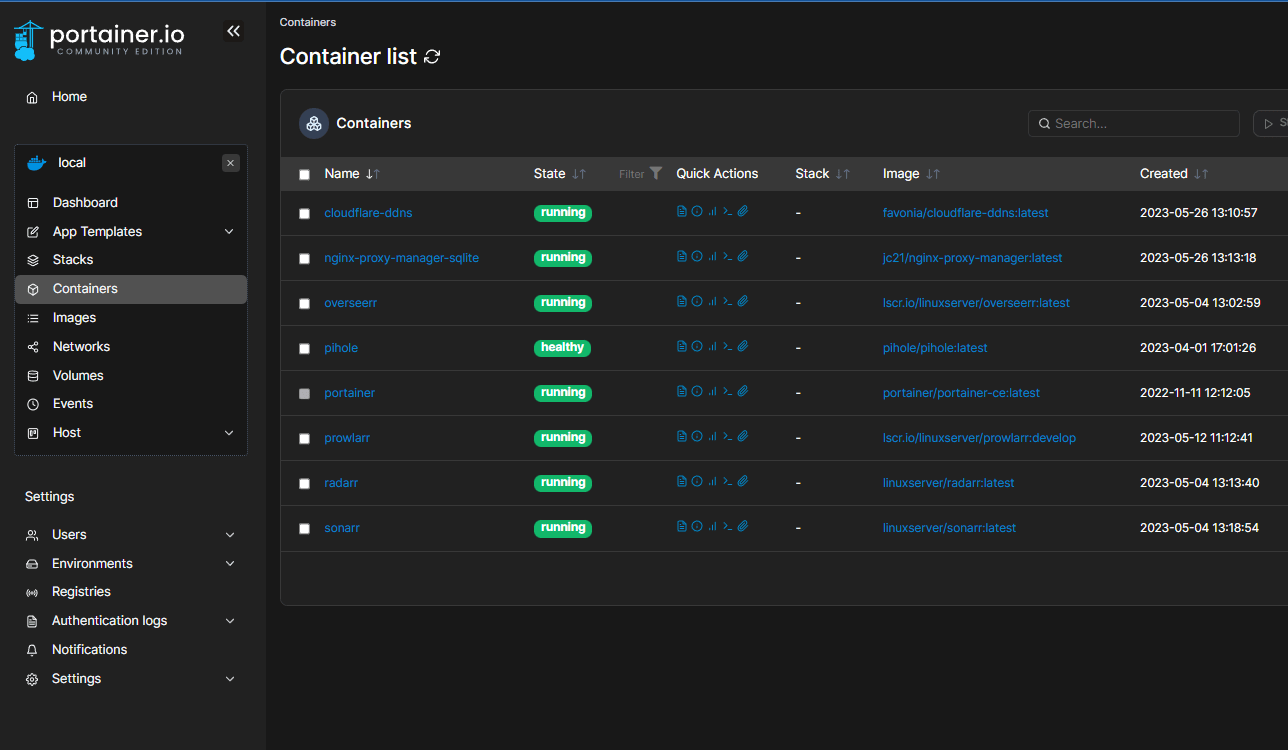
By using Docker, you can easily experiment with different applications and services without having to worry about complex setup or configuration. There are multiple methods to set this up and there are are loads of tools that can assist you. My favorite tools to use is Portainer and CasaOS. Depending on your skill level and preferences, the easiest method for me to deploy all these docker apps was to use the App store of Portainer and CasaOS. That means no docker terminal commands… Simply click and deploy.
Honorable Mentions
Optional Installing CasaOS or adding these manually
- Installing Prowlarr Docker
- Installing Media Management Dockers , Radarr, Sonarr, Lidarr ect.
- Setting up Cloudflare DDNS for Jellyfin Remote management or Tailscale
- Setting up NginX Proxy Manager to Remote Access JellyFin
- Optional: Installing Oversearr or Jellyseerr.
- Optional – Installing Wireguard
- Optional – Readarr
Hosting Jellyfin or Plex on more capable hardware is recommended – No transcoding of video can be done on the PI.
Resources
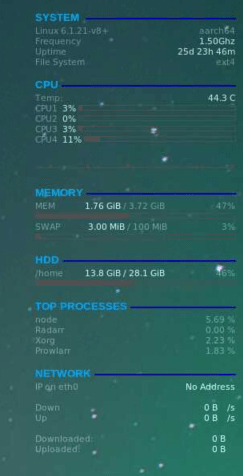
The Pi with 4GB of RAM runs all these services without running into memory issues and is stable. Of the 32GB of my internal memory card I have 13GB free with Raspbian installed as the main operating system.